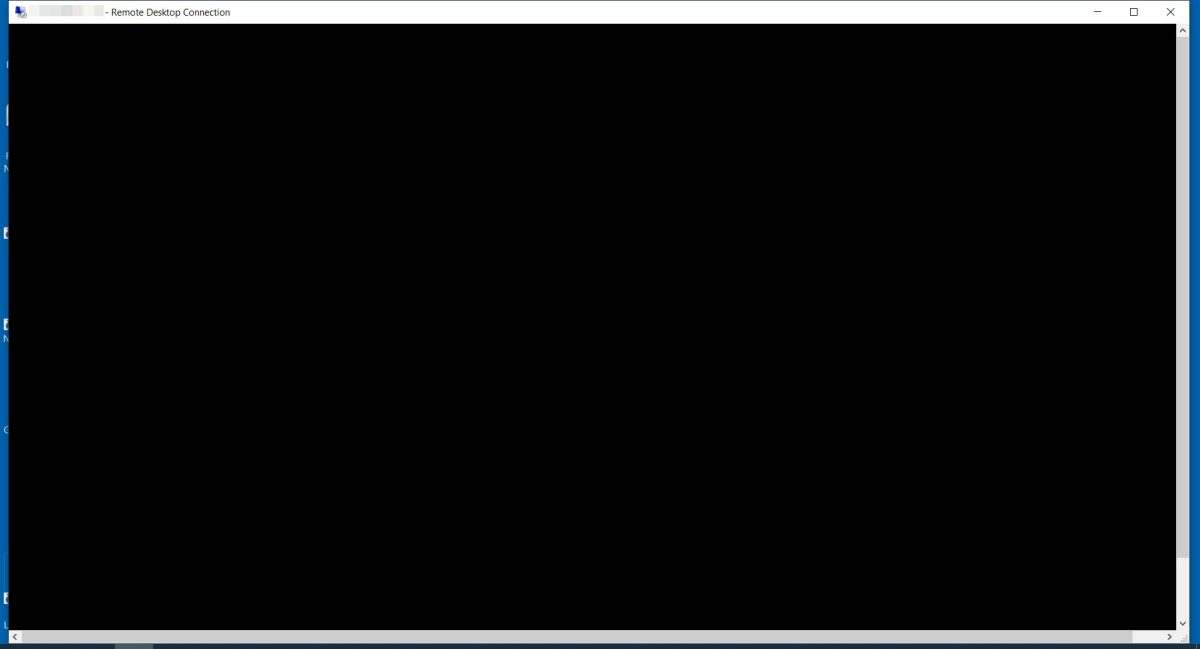
Remote Desktop is a useful feature that allows users to access and control a computer from a different location, enabling tasks such as remote work, technical support, and accessing files or applications on another device. However, users may occasionally encounter a black screen during a Remote Desktop session. If you’re in the same boat, don’t worry. This issue can arise due to various factors and we’re here to help.
Try These Fixes
- Restart remote desktop services
- Restart explorer.exe
- Update graphics driver
- Adjust RDP client settings
- Use alternative remote access tools

1. Restart Remote Desktop Services
Sometimes the issue can be caused by temporary glitches and restarting the Remote Desktop Services may help:
- Press the Windows logo key + R to open the Run box, then type services.msc and press Enter. This will open Services.

- Locate Remote Desktop Services in the list. Since the services are arranged alphabetically, it should be easy to find. Once you find it, right-click it and select Restart.

If it still shows a black screen when you remotely connect the machine, try the next fix below.
2. Restart Explorer.exe
Sometimes, the black screen results from the Windows Explorer process not running. You can conduct the following steps below to start it remotely:
- Press Ctrl + Shift + Esc to open the Task Manager.
- In the top right corner, click Run new task.

- Type explorer.exe and press Enter.

- Now check if the remote machine still shows a black screen.
3. Update Graphics Driver
A graphics driver is a specialized software component that facilitates communication between your computer’s operating system and its graphics processing unit (GPU). When it becomes outdated, corrupted, or incompatible, it can lead to various display issues, such as a black screen during Remote Desktop sessions. Updating the graphics driver ensures optimal performance and compatibility with the latest software and system updates.
Methods to Update Your Graphics Driver
There are several methods to update your graphics driver. You can do this via the Device Manager, go to the manufacturer’s website to download and install the appropriate driver compatible with your system version, or utilize proprietary software, such as the NVIDIA App, depending on your graphics card brand.
One of the easiest and most convenient ways to update your graphics driver is by using Driver Easy, a handy tool that automatically detects missing or outdated drivers on your system, downloads, and installs the latest versions compatible with your system. Additionally, it allows you to select specific driver versions to download, which can be helpful in certain situations.
- Download and install Driver Easy.
- Run Driver Easy and click the Scan Now button. Driver Easy will then scan your computer and detect any problem drivers.

- Check if your graphics device is flagged in the scan results. If it is, click Activate & Update to start a 7-day free trial or upgrade to Driver Easy Pro. Either option will automatically download and install the latest graphics driver for you.

- Restart your computer for the changes to take effect.
4. Adjust RDP Client Settings
If your issue persists, adjust the following settings:
- Open the Remote Desktop Connection client.
- Click Show Options.

- Select the Display tab, set the color depth to True Color (24 bit).

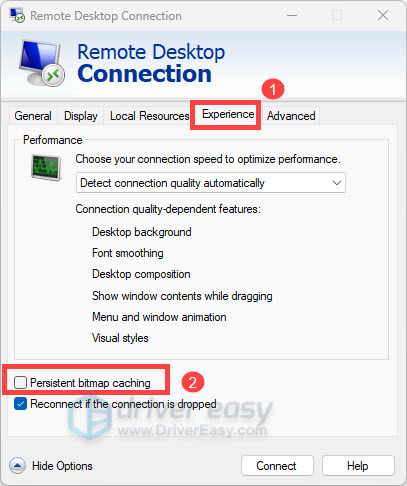
- Navigate to the Experience tab, then uncheck Persistent bitmap caching.

- After applying these changes, try to connect again and see if your problem is solved.
5. Use Alternative Remote Access Tools
If all else fails, you might consider using alternative remote access software such as TeamViewer and GoToMyPC.
Final Thoughts
Dealing with a black screen during a Remote Desktop session can be frustrating, but you’re not alone and there are some effective methods to fix it. We hope this guide has provided you with clear steps to get your Remote Desktop sessions running smoothly again. If you have any questions or need further assistance, feel free to reach out or leave a comment below.


